Sticky mats are ideal for keep dust, dirt, and other
particulates from spreading due to foot traffic. As foot traffic or wheels pass
over the surface of the mat the non-transferring adhesive locks onto the dirt
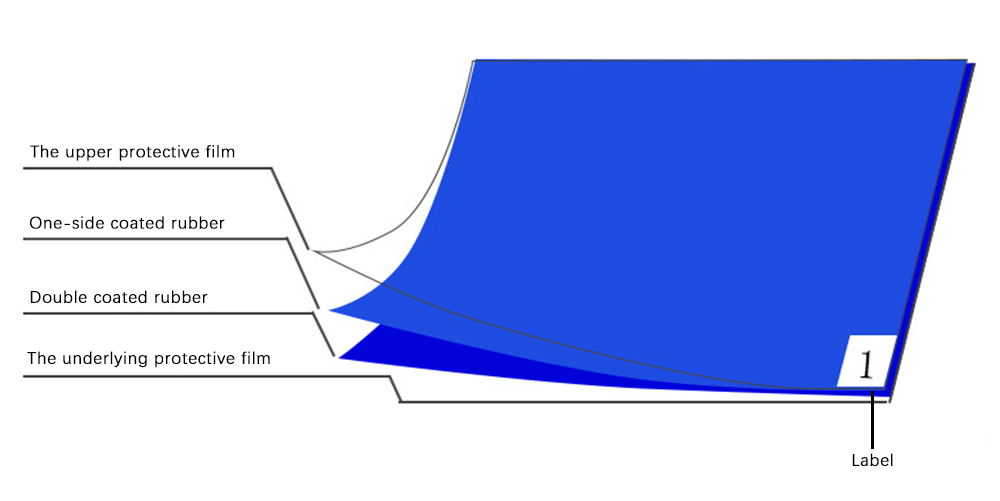
and captures it. Sticky Mats are comprised of 30 or 60 layers of
adhesive-coated film that effectively removes dirt from shoes, equipment
wheels, and even pet paws. By using sticky mats you can reduce your cleaning
time with a cost effective solution. The low cost makes them great for any
industry, office, or home use. They will help keep dust and dirt to a minimum
in clean rooms, office entry ways, food manufacturing, and more. There are a
variety of sizes to choose from that will suit large and small traffic areas.

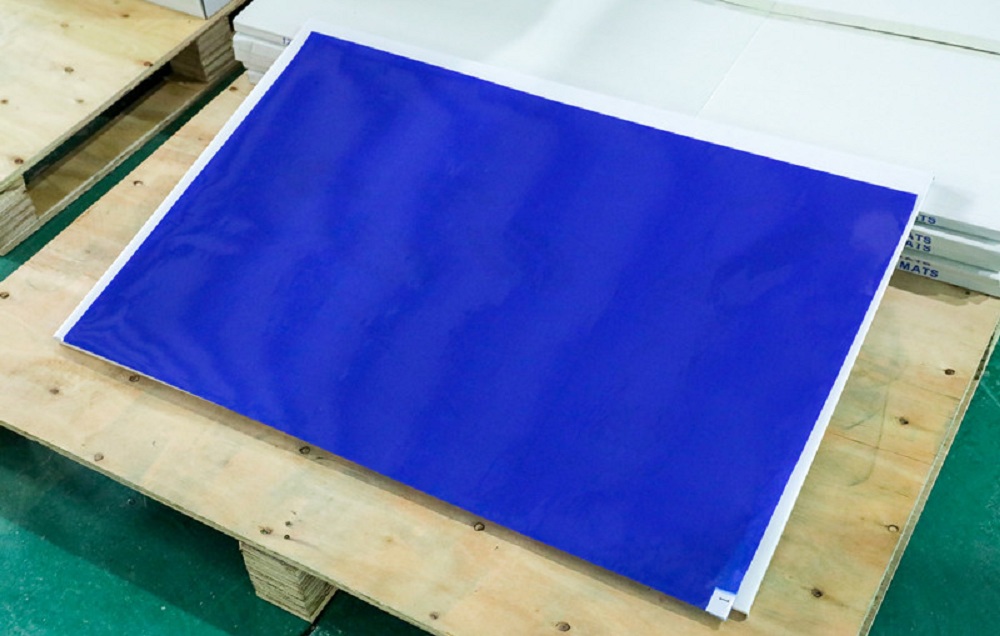
Also known as cleanroom adhesive mats, sticky mats are disposable mats made from layers of polyethylene sheets with specially treated pressure sensitive adhesive on the exposed surface.
Sticky mats provide a significant benefit in the cleanroom by minimizing the amount of the contamination that goes inside of it, but what if your sticky mat isn’t being used properly? A common question we receive is: "Why won't my sticky mat stick to the floor?" The biggest reason why this is a common issue is that many do not realize there is a right and wrong way to install and remove each sticky mat sheet.
Highlights:
• Adhesive strong enough to remove dust and dirt from the bottom of a sole, yet mild enough not to cause the shoe cover to stick to the mat
• Operators or carts entering a cleanroom or clean zone walk or roll on the film to remove foot and wheel-born contamination
• Purpose of mat is to minimize the amount of contamination entering the controlled environment by way of shoes, cart wheels, and other sources
Proper Location/Placement:
• Sticky mats should not be placed in the cleanroom
• Sticky mats should be placed at entrance to cleanroom and at entrance to cleanroom gowning area
• Sticky mat placement and size should allow for 2-3 steps to fully remove dirt/debris
Mat Installation:
• Remove the clear protective sheet from the “Bottom” of the mat. Do not remove sheet from top of the mat at this time
• Start by placing two corners of the mat on the surface where you would like the mat positioned, slightly bending the mat up from the opposite end, while keeping the remaining part of the mat from fully touching the surface
• Slowly work from the two corners pressing firmly down from side to side (width) across the entire mat. Process is similar to placing a sticker; remove all bubbles and make sure to get good adhesive contact with surface. Apply weight by stepping on the mat or rolling it with a heavy roller will help secure the mat


